type
status
date
category
slug
summary
Pinterest Topic
Pinterest Tag
Latest Pin Date
Latest Pin No.
Pin Image
Total Pin Images
All Pins Posted
All Pin Images Created
tags
icon
password
comment
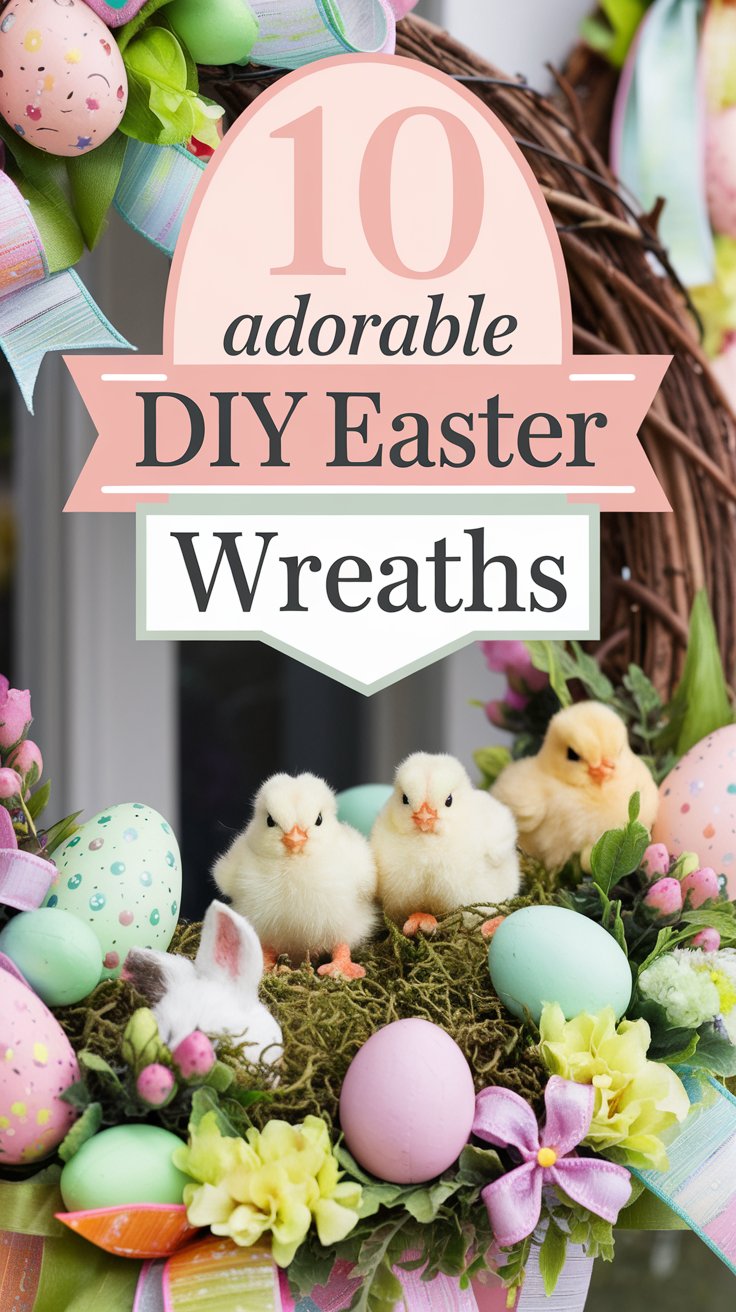
Spring is in the air, and what better way to welcome the season of sunshine, bunnies, and blooms than with a delightful DIY Easter wreath? Forget store-bought decorations; this year, let's get crafty and create wreaths that are bursting with personality and charm. These aren't just any wreaths; we're talking about adorable creations that will make your heart melt and your guests swoon!
Get ready to unleash your inner artist because we've gathered 10 of the most darling DIY Easter wreath ideas that are guaranteed to bring a touch of spring magic right to your doorstep (or mantelpiece, or anywhere your heart desires!). From fluffy bunnies to pastel perfection, these wreaths are simple to make, budget-friendly, and oh-so-satisfying to create. Let's dive into a world of ribbons, florals, and a whole lot of cuteness!
1. The Cotton Tail Cutie Wreath
Imagine a wreath so sweet, it could hop right off your door! This "Cotton Tail Cutie" wreath features a plush, white cotton tail bunny as the star, surrounded by a garden of gentle spring blooms. It’s the epitome of Easter sweetness, perfect for welcoming guests with a smile.

What you'll need:
- Grapevine wreath base (12-14 inches)
- Small, plush white cotton tail bunny figurine
- Pastel pink and baby blue silk tulips (about 12-15 stems)
- Miniature white silk daisies (a small bunch)
- Delicate green fern fronds (faux or preserved)
- Hot glue gun and glue sticks
- Ribbon for hanging (optional, pastel color)
How to create your Cotton Tail Cutie:
- Prepare your base: If using a grapevine wreath, ensure it's sturdy and free of any loose pieces.
- Position the bunny: Find the perfect spot in the center of your wreath for the cotton tail bunny. Use hot glue to secure it gently.
- Arrange the tulips: Start placing the pastel tulips around the bunny. Tuck the stems into the grapevine wreath and use hot glue to secure them in place, facing outwards. Vary the colors and positions for a natural look.
- Add the daisies: Fill in the gaps between the tulips with miniature white daisies. This adds a touch of delicate detail and texture.
- Incorporate the ferns: Tuck the green fern fronds around the blooms, allowing them to peek out and add a touch of spring greenery.
- Finishing touches: Check for any gaps and add more flowers or greenery as needed. If desired, attach a pastel ribbon at the top for hanging.
2. Peeps & Posies Wreath of Joy
Who can resist the sugary charm of Peeps? This "Peeps & Posies" wreath is a burst of color and sweetness, combining the iconic marshmallow treats with cheerful spring posies. It’s a fun and whimsical wreath that's sure to bring a smile to everyone's face.

What you'll need:
- Foam wreath form (12-14 inches)
- Pastel Peeps bunnies (yellow, pink, blue) – about 3-4 packages
- Bright yellow silk daffodils (about 10-12 stems)
- Silk lavender sprigs (a small bunch)
- Light green wide ribbon
- Hot glue gun and glue sticks
- Toothpicks (optional, for extra Peep security)
Crafting your Peeps & Posies Wreath:
- Wrap the wreath form: Wrap the foam wreath form completely with the light green ribbon, overlapping as you go. Secure the ends with hot glue. This creates a fresh, colorful base.
- Prepare the Peeps: If you want extra security for your Peeps (especially in warmer climates), you can insert a toothpick into the bottom of each Peep.
- Arrange the Peeps: Start placing the Peeps bunnies around the wreath form. Alternate colors and slightly overlap them for a full look. Use hot glue (or toothpicks inserted into the foam) to secure them.
- Add the daffodils and lavender: Tuck the daffodil stems and lavender sprigs in between the Peeps. Use hot glue to secure them, allowing them to peek out and add pops of color and texture.
- Ribbon accents: Cut small pieces of the light green ribbon and tie them into tiny bows. Glue these bows sporadically around the wreath for extra charm.
3. The Speckled Egg Nest Wreath
For a touch of rustic charm and natural beauty, the "Speckled Egg Nest" wreath is simply perfect. It evokes the feeling of springtime in the countryside, with its twiggy nest, speckled eggs, and delicate budding branches. It's a sophisticated yet adorable wreath that celebrates the natural wonders of Easter.

What you'll need:
- Natural twig wreath base (12-14 inches)
- Small bird's nest (pre-made or DIY with twigs and moss)
- Speckled robin's eggs (faux, in blue and brown tones) – about a dozen
- Budding branches (faux or real, like forsythia or cherry blossom branches)
- Delicate white silk cherry blossoms (a small bunch)
- Hot glue gun and glue sticks
Building your Speckled Egg Nest Wreath:
- Secure the nest: Position the bird's nest in the center of your twig wreath base. Use hot glue generously to ensure it's firmly attached.
- Fill the nest: Carefully arrange the speckled robin's eggs inside the bird's nest. Don't overcrowd it; let some of the nest texture show through.
- Arrange the budding branches: Start tucking the budding branches around the outer edge of the twig wreath, framing the nest. Use hot glue to secure them, allowing them to extend outwards naturally.
- Add cherry blossoms: Snip small clusters of white cherry blossoms and tuck them in amongst the budding branches. This adds a touch of delicate floral beauty.
- Natural touches: You can add small pieces of moss or lichen to the wreath base for extra natural texture.
4. Rainbow Ribbon Ruffle Wreath
Get ready to ruffle some feathers (in the cutest way possible!) with this "Rainbow Ribbon Ruffle" wreath. It's a riot of pastel colors and playful textures, created entirely from soft, ruffled ribbons. The simple white bunny silhouette in the center adds a touch of Easter charm without overwhelming the rainbow of ruffles.

What you'll need:
- Foam wreath form (12-14 inches)
- Pastel rainbow ribbons (pink, yellow, blue, green, lavender) – various widths and textures for interest
- White felt sheet
- Bunny silhouette template (printable online)
- Scissors
- Hot glue gun and glue sticks
Creating your Rainbow Ribbon Ruffle Wreath:
- Cut the ribbons: Cut the pastel ribbons into strips of varying lengths (around 6-8 inches). You'll need a LOT of ribbon to cover the wreath form completely.
- Ruffle and glue: Take a ribbon strip, fold it in half lengthwise, and then ruffle the raw edges slightly. Apply a line of hot glue to the back of the ruffled ribbon and press it onto the wreath form. Overlap each ribbon ruffle as you go, completely covering the foam base. Alternate colors and textures for a vibrant rainbow effect.
- Create the bunny silhouette: Print out a bunny silhouette template and trace it onto the white felt sheet. Cut out the felt bunny.
- Attach the bunny: Position the white felt bunny silhouette in the center of the ribbon-covered wreath and secure it with hot glue.
5. Carrot Patch Whimsy Wreath
Hop into spring with this adorable "Carrot Patch Whimsy" wreath! It's a playful and unexpected take on Easter décor, featuring a miniature carrot patch right on your wreath. The bright orange and green carrots, combined with moss and wildflowers, create a fresh and charmingly quirky look.

What you'll need:
- Straw wreath form (12-14 inches)
- Miniature faux carrots (orange and green) – about 20-30
- Small green moss balls (a bag)
- Tiny white silk wildflowers (a small bunch)
- Burlap ribbon
- Hot glue gun and glue sticks
Building your Carrot Patch Whimsy Wreath:
- Prepare the base: Leave the straw wreath form natural for a rustic look, or wrap it with burlap ribbon for a more finished appearance.
- Create the carrot patch: Start arranging the miniature faux carrots on the wreath form, creating a circular "patch" effect. Vary the direction and placement of the carrots for a natural look. Use hot glue to secure them.
- Add moss and wildflowers: Fill in the gaps between the carrots with small green moss balls and tiny white wildflowers. This adds texture and delicate floral accents.
- Burlap bow: Tie a simple bow with the burlap ribbon and attach it to the top of the wreath.
6. Polka Dot Pastel Egg Wreath
Embrace modern cuteness with this "Polka Dot Pastel Egg" wreath! It's a vibrant and playful design that uses polka-dotted pastel Easter eggs to create a cheerful and eye-catching wreath. The clean lines and bold pattern make it a perfect choice for contemporary spring décor.

What you'll need:
- Foam wreath form (12-14 inches)
- Pastel colored plastic Easter eggs (pink, yellow, blue, green) – about 30-40
- White acrylic paint pen or small paintbrush and white paint
- White and pastel striped ribbon
- Hot glue gun and glue sticks
Crafting your Polka Dot Pastel Egg Wreath:
- Polka dot the eggs: Using a white acrylic paint pen or small paintbrush and white paint, create polka dots all over the pastel Easter eggs. Let them dry completely.
- Arrange the eggs: Start gluing the polka-dotted eggs onto the foam wreath form, packing them tightly together to completely cover the base. Alternate colors for a balanced look.
- Ribbon bow: Tie a bow with the white and pastel striped ribbon and attach it to the bottom of the wreath.
7. Bunny Ears Floral Crown Wreath
For a touch of sophisticated sweetness, the "Bunny Ears Floral Crown" wreath is a dream. It’s shaped like adorable bunny ears and adorned with lush pastel florals, creating a wreath that's both elegant and playful. It's perfect for those who love a more refined take on Easter décor.

What you'll need:
- Wire wreath form shaped like bunny ears
- Pastel pink and white silk roses (about 15-20 stems)
- Silk baby's breath (a small bunch)
- Eucalyptus leaves (faux or preserved)
- Delicate gold wire
- Floral wire
- Wire cutters
- Hot glue gun and glue sticks (optional, for extra security)
Creating your Bunny Ears Floral Crown Wreath:
- Prepare the florals: Trim the stems of the roses, baby's breath, and eucalyptus leaves, leaving about 2-3 inches of stem.
- Attach the florals: Start attaching the roses to the bunny ear wreath form using floral wire. Wrap the wire around the stems and the wire frame, securing them tightly. Fill in with baby's breath and eucalyptus leaves, layering the florals to create a lush, full look.
- Gold wire accents: Weave delicate gold wire throughout the floral arrangement, adding subtle shimmer and elegance. Secure the wire by twisting it around the wreath frame.
- Shape and adjust: Shape the florals and bunny ears as desired. Use hot glue for extra security if needed.
8. Tulip Time Teacup Wreath
Imagine a spring garden party in wreath form! The "Tulip Time Teacup" wreath is utterly charming and unique, featuring a vintage teacup overflowing with miniature tulips. It’s a whimsical and nostalgic wreath that brings a touch of old-world charm to your Easter décor.

What you'll need:
- Moss-covered wreath ring (10-12 inches)
- Vintage teacup and saucer (mismatched sets add charm!)
- Miniature pastel silk tulips (pink, yellow, white) – a small bunch
- Lace ribbon
- Strong adhesive glue (like E6000 or epoxy)
- Hot glue gun and glue sticks
Assembling your Tulip Time Teacup Wreath:
- Prepare the teacup: Ensure your teacup and saucer are clean and dry.
- Glue the teacup to the wreath: Apply a generous amount of strong adhesive glue to the bottom of the teacup and firmly press it onto the moss-covered wreath ring. You can position it slightly off-center for visual interest. Let it dry completely according to the glue instructions.
- Arrange the tulips: Fill the teacup with miniature pastel tulips. You can trim the stems short and use hot glue to secure them inside the teacup, creating a lush bouquet effect.
- Lace ribbon accent: Tie a delicate bow with the lace ribbon and glue it to the base of the teacup where it meets the wreath ring.
9. Butterfly Flutter By Wreath
Let your décor take flight with the "Butterfly Flutter By" wreath! This ethereal and dreamy wreath features delicate pastel paper butterflies seemingly fluttering around a grapevine base. The shimmering glitter and sheer ribbons add a touch of magic and lightness, perfect for welcoming the airy days of spring.

What you'll need:
- Grapevine wreath base (12-14 inches)
- Pastel paper butterflies (pink, purple, blue) – various sizes and styles
- Silver glitter
- Sheer white ribbon
- Fishing line or clear thread
- Hot glue gun and glue sticks
- Spray adhesive (optional, for glitter)
Creating your Butterfly Flutter By Wreath:
- Glitter accents (optional): If desired, lightly spray the grapevine wreath base with spray adhesive and sprinkle with silver glitter for a subtle shimmer.
- Prepare the butterflies: Gently bend the paper butterflies to create a fluttering effect.
- Attach butterflies with fishing line: Cut varying lengths of fishing line or clear thread. Tie one end to a butterfly and the other end to the grapevine wreath base. Vary the lengths and positions of the butterflies to create a sense of movement and flutter.
- Sheer ribbon streamers: Cut long streamers of sheer white ribbon and tie them to the bottom of the wreath, allowing them to drape down.
10. Pom-Pom Chick Parade Wreath
Last but certainly not least, get ready for a parade of cuteness with the "Pom-Pom Chick Parade" wreath! This irresistibly fuzzy wreath features adorable yellow pom-pom chicks marching in a circle, interspersed with pastel yarn pom-poms for extra fluffiness. It's a playful and whimsical wreath that's perfect for adding a touch of childlike joy to your Easter celebrations.

What you'll need:
- Foam wreath form (12-14 inches)
- Yellow pom-poms (various sizes) – for the chick bodies
- Pastel yarn pom-poms (pink and blue) – for filler
- Orange felt scraps
- Googly eyes (small)
- Yellow grosgrain ribbon
- Hot glue gun and glue sticks
- Scissors
Crafting your Pom-Pom Chick Parade Wreath:
- Create the chicks: For each chick, glue small felt triangles onto a yellow pom-pom to create beaks. Glue on googly eyes.
- Arrange the chicks and pom-poms: Start gluing the yellow pom-pom chicks onto the wreath form, arranging them in a circle. Fill in the gaps with pastel yarn pom-poms, creating a fluffy and colorful base.
- Ribbon bow: Tie a bright yellow grosgrain ribbon bow and attach it to the top of the wreath.
Bringing Spring Indoors, One Adorable Wreath at a Time!
And there you have it – 10 adorable DIY Easter wreaths to brighten your home and welcome the spring season! Each of these wreaths is designed to be easy and fun to make, allowing you to unleash your creativity and add a personal touch to your Easter décor. So gather your supplies, put on some cheerful music, and get ready to craft some serious cuteness. Happy Easter crafting!
上一篇
10 Enchanting Historic Stone Houses That Will Take You Back in Time!
下一篇
12 Stunning Medieval Engraving Tattoos That Will Make You Ditch Your Old Ink!
Loading...


