type
status
date
category
slug
summary
Pinterest Topic
Pinterest Tag
Latest Pin Date
Latest Pin No.
Pin Image
Total Pin Images
All Pins Posted
All Pin Images Created
tags
icon
password
comment
Is your garden yearning for a touch of the extraordinary? Are you seeking to infuse your outdoor space with personality, charm, and a dash of delightful envy from your neighbors? Look no further than the humble clay! This versatile medium, often associated with pottery and functional ware, possesses an untapped potential for artistic expression right in your garden.
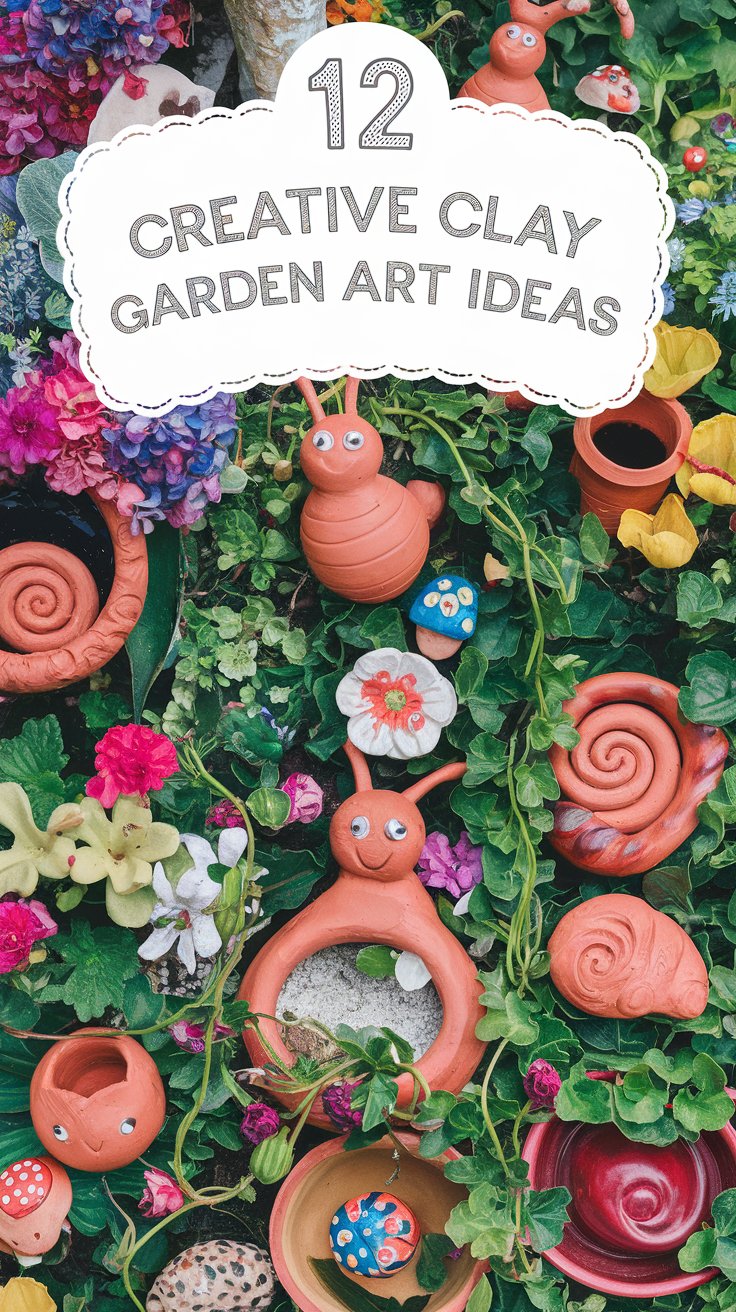
Forget generic gnomes and mass-produced ornaments. We're diving deep into the world of creative clay garden art, where your imagination is the only limit. Prepare to be inspired by 12 unique ideas that will transform your backyard into a gallery of handcrafted wonders. From whimsical creatures peeking out from flowerbeds to elegant planters that elevate your greenery, these DIY clay projects are designed to be both eye-catching and achievable. And trust us, idea #10 is a game-changer – a must-try project that will undoubtedly become the talk of the neighborhood!
Get ready to get your hands dirty and unleash your inner artist. Let's explore how to turn simple clay into stunning garden art that reflects your unique style and makes your outdoor space truly unforgettable.
1. Enchanting Clay Mushroom Clusters

Imagine stumbling upon a hidden grove of magical mushrooms in your own backyard. With clay, this whimsical vision can become a reality. Crafting clay mushroom clusters is a delightful way to add a touch of fairytale charm to any corner of your garden.
How to create them:
- Start by shaping mushroom caps and stems separately. Use air-dry clay for ease, or polymer clay if you prefer baking for durability.
- Experiment with different cap shapes – some rounded, some flatter, some with whimsical curves.
- Use tools or your fingers to create texture on the caps and stems, mimicking the natural patterns of fungi.
- Once dry (or baked), paint them in earthy tones, or go bold with vibrant colors for a more fantastical look.
- Arrange your clay mushroom clusters at the base of trees, amongst ferns, or peeking out from under shrubs for a truly enchanting effect. These DIY garden mushrooms are perfect for adding a touch of magic to shady spots.
2. Playful Clay Critter Plant Pots

Why settle for ordinary plant pots when you can have adorable clay critters guarding your blooms? Clay critter plant pots bring a playful and endearing element to your garden, turning functional planters into charming works of art.
How to create them:
- Begin with basic terracotta or create your own pot shape from clay.
- Mold clay features to transform your pot into an animal – think ears, snouts, tails, and paws. Animals like cats, rabbits, hedgehogs, or even whimsical dragons work wonderfully.
- Ensure the features are well-attached to the pot base and allow to dry completely.
- Paint your critter pots in colors that complement your garden or choose bright hues for a fun, cartoonish vibe.
- Plant your favorite flowers or herbs in these playful clay planters and watch as they become instant conversation starters. These animal plant pots are a delightful way to showcase your plants.
3. Elegant Clay Bird Bath with Leaf Imprints

Elevate your garden into a haven for feathered friends with an elegant clay bird bath. More than just a water source, a handcrafted bird bath becomes a sculptural focal point, adding sophistication and tranquility to your outdoor space.
How to create it:
- Shape a large, shallow bowl for the basin of the bird bath. Ensure it’s wide and shallow enough for birds to comfortably use.
- Create a sturdy base to elevate the basin – a simple pedestal or a more ornate, sculpted design.
- While the clay is still wet, press leaves from your garden into the basin to create beautiful, natural imprints.
- Allow the clay to dry thoroughly. For added durability and weather resistance, consider firing it in a kiln or using a sealant designed for outdoor clay art.
- Place your clay bird bath with leaf imprints in a visible spot in your garden and enjoy watching birds flock to your handcrafted water feature. This DIY bird bath combines functionality with artistic beauty.
4. Whimsical Clay Wind Chimes with Garden Charms

Fill your garden with gentle melodies and visual delight with whimsical clay wind chimes. These charming creations not only add auditory beauty but also become delightful decorative elements, swaying gracefully in the breeze.
How to create them:
- Roll out clay slabs and use cookie cutters or freehand to create various shapes for the chimes – leaves, flowers, stars, or abstract forms.
- Poke holes at the top of each shape for hanging and at the bottom for attaching charms.
- Create small clay charms – beads, miniature fruits, tiny animals – to dangle from the chimes.
- Once dry and fired (or hardened), paint and decorate your chime pieces.
- String the chimes and charms together with sturdy twine or fishing line and hang your clay wind chimes with garden charms from a tree branch, pergola, or porch. These DIY wind chimes will bring music to your garden.
5. Personalized Clay Plant Markers with Botanical Motifs

Say goodbye to confusing plant labels and hello to personalized clay plant markers! These practical yet artistic additions to your garden beds are a stylish way to identify your plants and add a touch of handcrafted elegance.
How to create them:
- Roll out clay and cut into small rectangular or oval shapes for markers.
- While the clay is still soft, use stamps, carving tools, or even nature finds like twigs and seeds to create botanical motifs.
- Clearly inscribe the names of your plants onto each marker.
- Allow to dry and then fire or harden your clay markers.
- You can leave them unpainted for a rustic look or add paint for better visibility and weather protection.
- Place your clay plant markers with botanical motifs next to your herbs, vegetables, or flowers for a charming and organized garden. These DIY plant labels are both functional and beautiful.
6. Miniature Clay Fairy Garden Houses

Step into a realm of enchantment with miniature clay fairy garden houses. These tiny dwellings spark imagination and create a magical world within your garden, inviting fairies and wonder into your outdoor space.
How to create them:
- Construct small house structures from clay – simple cubes, cylinders, or more elaborate cottage shapes.
- Add whimsical details like tiny windows, doors, chimneys, and perhaps even a miniature balcony.
- Use textures to mimic stone walls, thatched roofs, or wooden doors.
- Once dry and hardened, paint your fairy houses in soft, pastel colors or earthy tones.
- Incorporate natural elements like twigs, pebbles, and moss to further enhance the fairy-tale aesthetic.
- Place your clay fairy garden houses in a sheltered spot in your garden, surrounded by miniature plants and pathways to create a captivating fairy garden scene. These DIY fairy houses are perfect for sparking imagination.
SEO Keywords: clay fairy garden houses, fairy garden houses, miniature fairy houses, DIY fairy houses, clay garden decor, whimsical garden houses, fairy garden accessories
7. Stepping Stones with Mosaic Clay Inlays

Transform ordinary garden paths into works of art with stepping stones with mosaic clay inlays. These functional yet decorative elements add personality and visual interest underfoot, guiding you through your garden in style.
How to create them:
- Create large, flat clay slabs for the base of your stepping stones. Ensure they are thick enough to be sturdy.
- While the base is still wet, create indentations or patterns on the surface.
- Shape small pieces of colored clay into various geometric or organic shapes for the mosaic inlays.
- Press these clay mosaic pieces into the indentations on the stepping stone base.
- Allow to dry and then fire or harden the stepping stones.
- Set your clay stepping stones with mosaic clay inlays into your garden path to create a unique and artistic walkway. These DIY stepping stones combine functionality with creative design.
SEO Keywords: clay stepping stones, mosaic stepping stones, DIY stepping stones, garden path stones, clay garden path, decorative stepping stones, outdoor mosaic art
8. Vertical Clay Wall Planters for Succulents

Maximize your vertical space and add a touch of modern flair with vertical clay wall planters for succulents. These stylish planters are perfect for small gardens or balconies, bringing greenery and artistic design to vertical surfaces.
How to create them:
- Shape clay into pouch-like or pocket shapes with flat backs for mounting. Ensure there’s a drainage hole at the bottom.
- Create a mounting system – small holes for hanging or a built-in bracket.
- Texture the surface of the planters for visual interest.
- Once dry and fired (or hardened), paint or glaze your clay wall planters.
- Mount them on a wall or fence and plant with a variety of succulents to create a living, vertical garden feature. These DIY wall planters are ideal for small spaces.
SEO Keywords: clay wall planters, vertical planters, succulent wall planters, DIY wall planters, clay garden planters, vertical garden ideas, space-saving planters
9. Quirky Clay Garden Gnomes with a Modern Twist

Reimagine the classic garden gnome with quirky clay garden gnomes with a modern twist. Ditch the traditional and embrace contemporary designs to create gnomes that are unique, stylish, and full of personality.
How to create them:
- Start with simple geometric shapes for the gnome bodies – cones, cylinders, or cubes.
- Sculpt minimalist features – simple hats, beards, and noses.
- Experiment with modern color palettes – monochrome, metallic accents, or bold, contrasting colors.
- Give your gnomes unique poses and expressions – sitting, meditating, dancing, or even holding tiny tools.
- Once dry and hardened, paint your clay garden gnomes in your chosen modern style and place them throughout your garden for a touch of contemporary whimsy. These DIY garden gnomes are a fresh take on a classic.
10. Must-Try: Clay Orb Gazing Balls with Reflective Glaze

Prepare to be amazed by idea #10 – clay orb gazing balls with reflective glaze. These mesmerizing spheres are not just garden art; they are captivating focal points that draw the eye and reflect the beauty of your surroundings. This is a must-try project that will truly set your garden apart.
How to create them:
- Shape clay into smooth, round orbs. Larger sizes make more impactful gazing balls.
- Ensure the surface is as smooth as possible before drying.
- Once bisque-fired (if using kiln clay), apply a highly reflective glaze – iridescent or metallic glazes work best.
- Fire again to achieve the glossy, reflective finish.
- Place your clay orb gazing balls with reflective glaze in prominent spots in your garden – nestled in flowerbeds, on pedestals, or among rocks. Watch as they become shimmering jewels, reflecting light and drawing envious gazes. These DIY gazing balls are a show-stopping addition to any garden.
11. Stacked Clay Totem Poles with Nature Motifs

Add a touch of vertical drama and storytelling to your garden with stacked clay totem poles with nature motifs. These towering sculptures become striking landmarks, showcasing your artistic skills and love for nature.
How to create them:
- Create several clay sections in varying shapes and sizes – cylinders, disks, or freeform shapes.
- While the clay is wet, carve or mold nature-inspired motifs onto each section – leaves, flowers, animals, celestial symbols, or abstract patterns.
- Once the sections are dry and fired (or hardened), stack them to create a totem pole structure. You can use a metal rod through the center for added stability.
- Paint or glaze each section in complementary or contrasting colors to highlight the motifs.
- Position your clay totem poles with nature motifs as focal points in your garden, adding height and artistic presence. These DIY totem poles are a bold statement piece for your outdoor space.
12. Charming Clay Garden Edging with Scalloped Details

Frame your flowerbeds and pathways with charming clay garden edging with scalloped details. This functional yet decorative element adds a refined and handcrafted touch to your garden borders, creating clean lines and visual appeal.
How to create it:
- Roll out clay slabs and cut into long strips for edging.
- Use a scalloped edge cutter or freehand to create a decorative scalloped pattern along one edge of each strip.
- You can also add other decorative details like imprints or textures to the clay.
- Allow the edging strips to dry and then fire or harden them.
- You can leave them unpainted for a natural terracotta look or paint them to complement your garden’s color scheme.
- Install your clay garden edging with scalloped details around your flowerbeds, vegetable patches, or pathways to create a beautifully defined and handcrafted garden. This DIY garden edging adds a touch of polish to your outdoor space.
Conclusion:
Transforming your garden into an artful haven is within your reach, and clay is your magical medium. These 12 creative clay garden art ideas are just the starting point. Let your imagination soar, experiment with shapes, colors, and textures, and create a garden that is not only beautiful but also a true reflection of your artistic spirit.
Remember, DIY garden art is not just about following instructions; it's about expressing yourself and enjoying the process of creation. So, get your hands muddy, embrace the imperfections, and prepare to watch your neighbors peek over the fence with envy at your stunning garden art. And don't forget to try idea #10 – those clay orb gazing balls are guaranteed to be a showstopper! Happy creating!
上一篇
12 Irresistible Coffee Recipes That'll Make Every Sip a Dream Come True!
下一篇
12 Fun Kids Clay Crafts That Will Keep Your Little Ones Entertained for Hours!
Loading...


